Assignment Brief:
For this module, I was tasked to create an asset that would act as the centrepiece for a future module. However, our asset had to fit into one Main and Subtheme:
Main Themes:
- Horror
- Science Fiction
- Fantasy
- Historical
Sub-themes:
- Alien
- Corruption
- Utopia
- Dystopia
- Celebration
- Decay
- Family
- Beauty
The aim was to create a low poly asset with complete textures as well as fully rendered beauty shots in Arnold renderer. Baking a high poly asset and low poly asset would also be worth greater marks.
Planning and Research
Following some experimentation with Maya and substance painter within the workshops, I settled on my theme: Horror and Celebration.
I was drawn to these themes as typically these would be looked upon as opposites, thereby giving myself a unique spin for my assets. I began to do some research on how I could combine these theme’s. Being interested in history, I decided to look back for inspiration.
Before the turn of the new millennium I found many people looked forward with anticipation towards the new year more than usual. This was due to the new year also coinciding with a new millennia. The year 2000 specifically. Being born in 2004, I hadn’t experienced the phenomenon and thus began to research on the internet as well as asking older friends and relatives about what they remember. Through this research i found that some weren’t as excited as others as they were far too afraid of Y2K: aka the millennium bug. This hoax ran throughout the late 1990’s and really began to rise during the finally few months of the 20th century. The concept essentially foretold that due to our over reliance on computer systems, when the clock strikes midnight on the new year, many technologies will simultaneously fail, leading to outages, economical troubles and some speculators even believed certain death as planes would drop out of the sky and nuclear missile silos would malfunction. Whilst it sounds ridiculous now, there was some truth in the hoax, as many computer systems were designed for a 2 digit date system in mind rather than the 4 digit, this meant when the year 2000 arrived the system could potentially read it as 1900 and fail. (1)
With my inspiration in mind I came up with the idea in which Y2K did spell certain doom for all civilised life, My scene would take place in the post apocalyptic aftermath of a party surrounded by death and destruction, and standing solitary in the focus would be a celebration cake, smashed and covered in dust and filth from the rubble and devastation surrounding it.
I began to workshop some ideas via mood board and sketches:
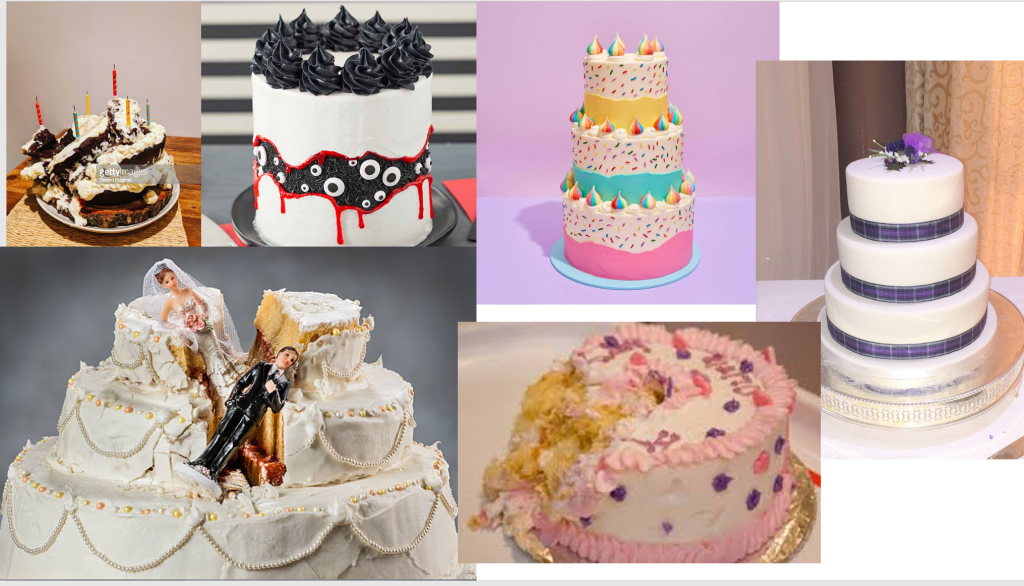
Source: Google Images.
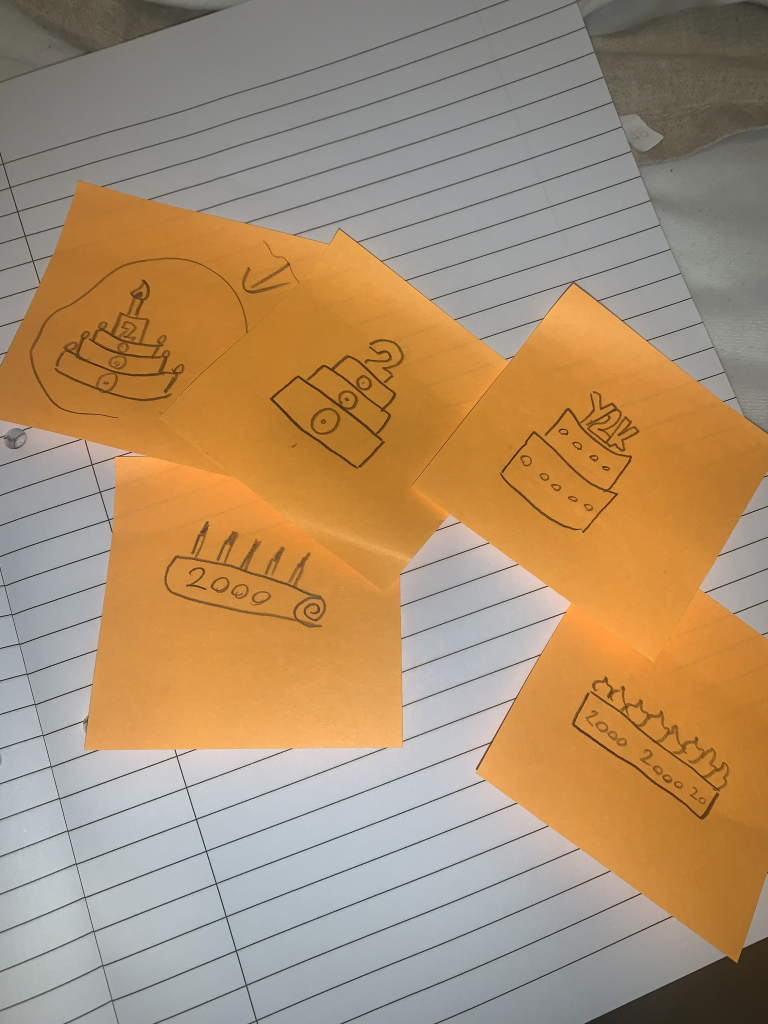
I began workshopping different styles of cake.
starting with a simple traybake style (bottom right). I continued to iterate on these designs and liked the look of a large grandiose cake, as it would look imposing yet melancholy when surrounded by my environment.
This cake would stand, as many do in the centre of the dining room, always elevated above other objects, and due to its large size, it would further draw attention from the viewer.
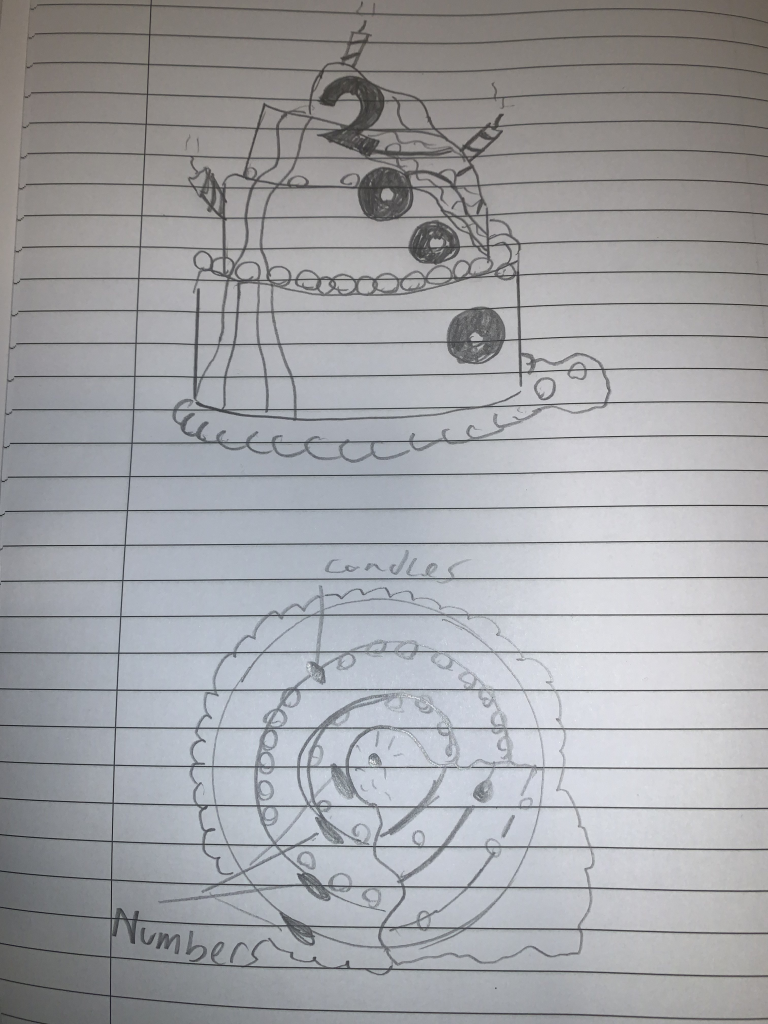
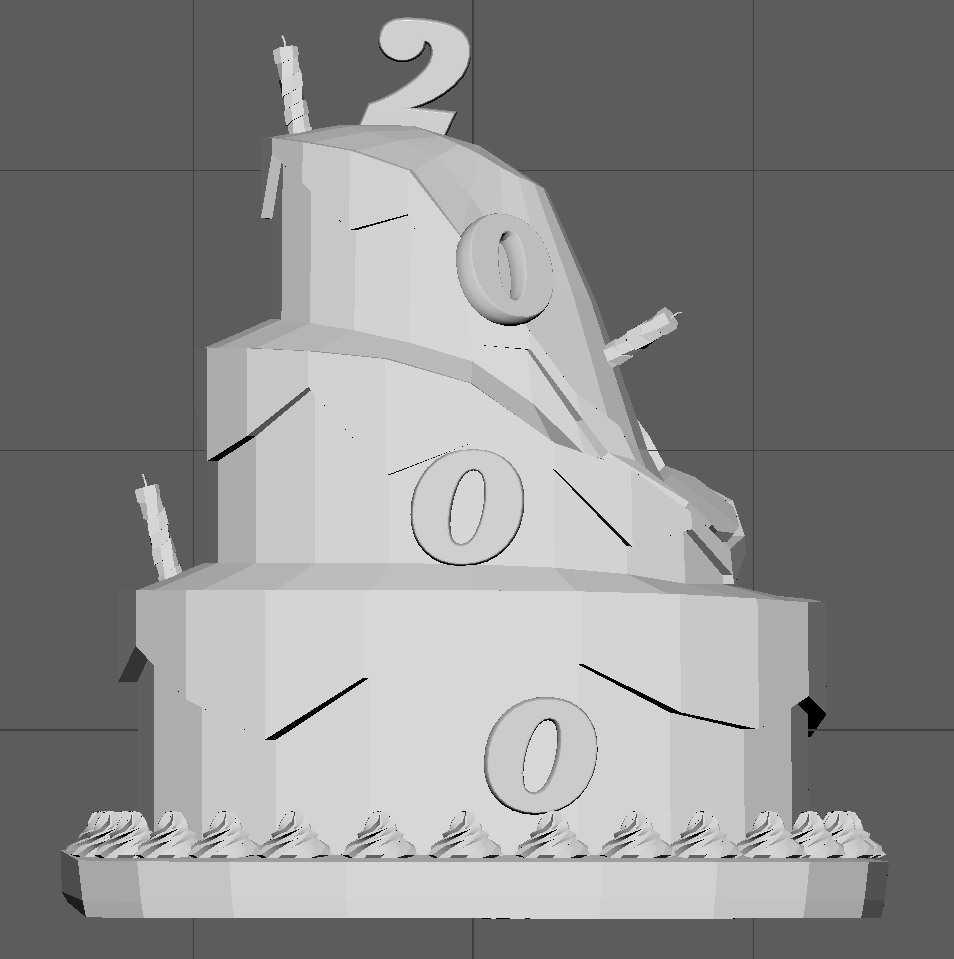
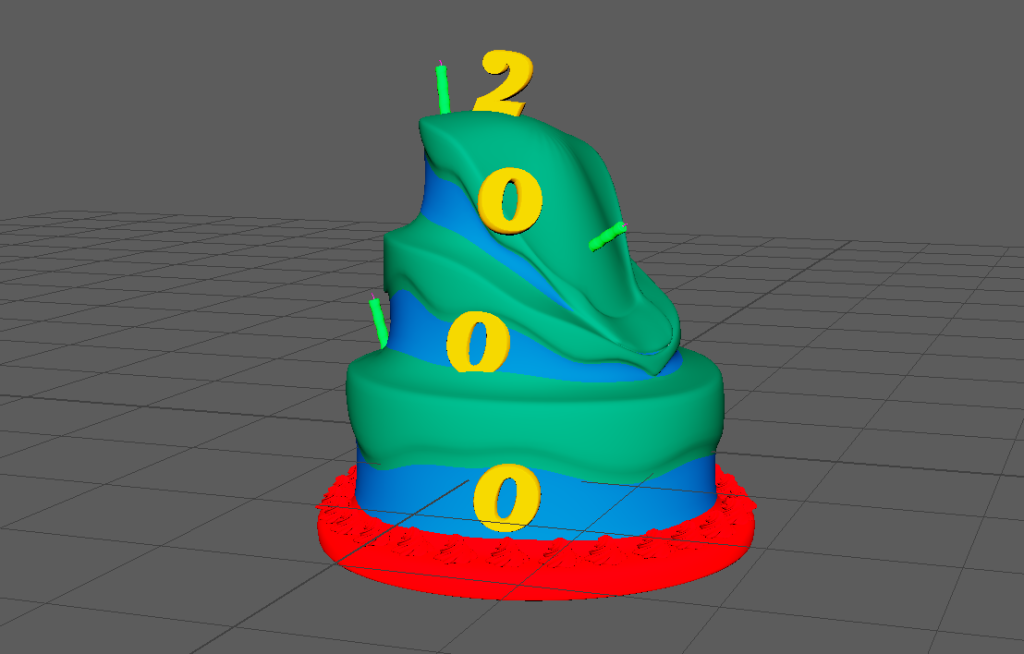
I eventually settled on a three tier cake with frosting on each layer and large decretive candles and numbers that would shine like a reminder of the horror.
Oozing and covered in soot and ash, this cake wouldn’t be something that looks pleasant to eat.
Process
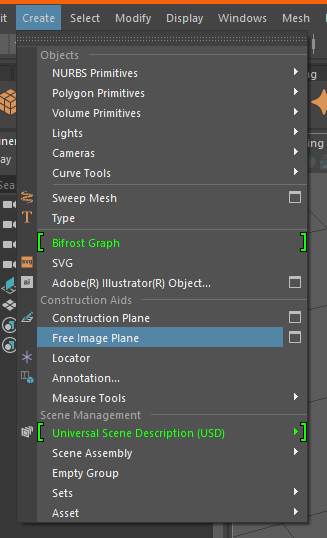
After finally settling on a design I could use, I began blocking out the structure of my cake in Maya.
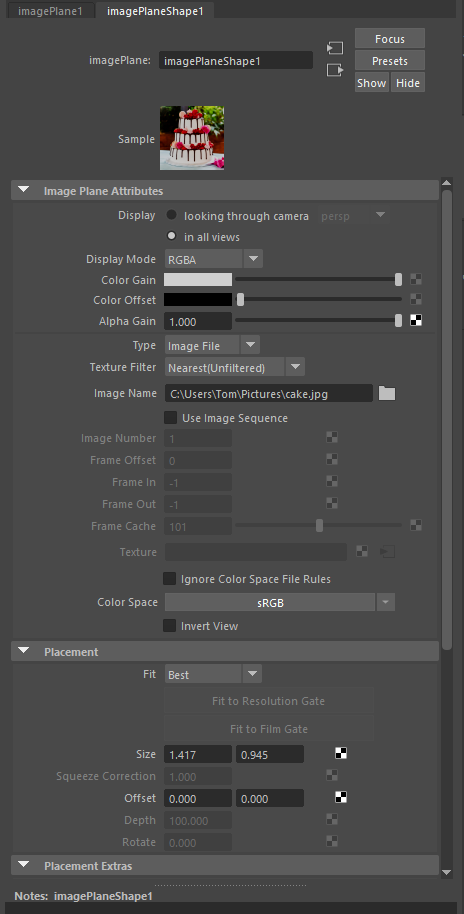
Before any modelling began however, I had to bear in mind my proportions, I edited my grid and placed in an image I had found off the internet that could act as a good sense of scale.
I began gathering the necessary assets for my low poly model.
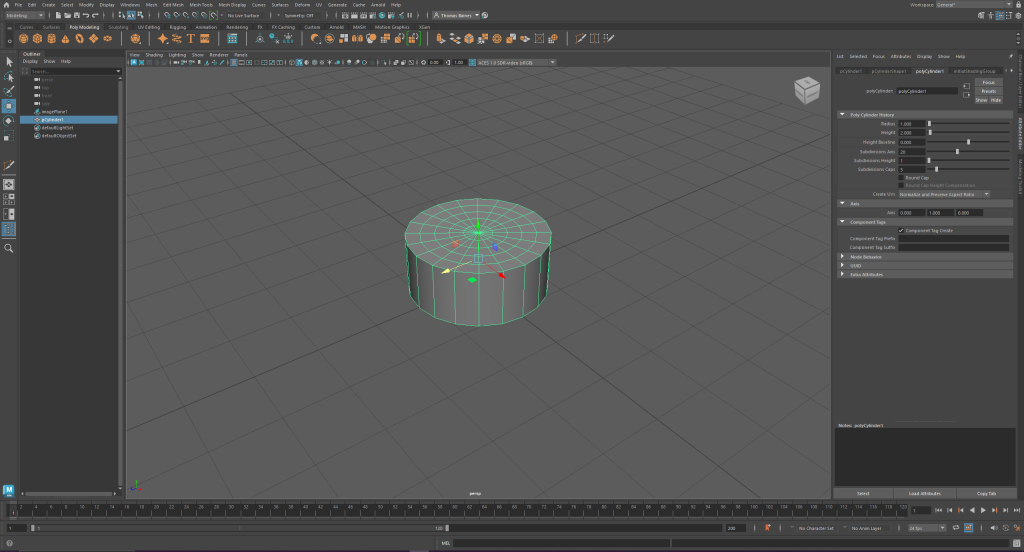
Next I selected a basic Cylinder which would act as the base and tiers of my cake. I then began using the transform tools to mold it similarly to what was seen in the image.
Furthermore, within the attributes editor I added extra subdivisions at the top of the cylinder, these then would be used by extruding them to create each tier of the cake.
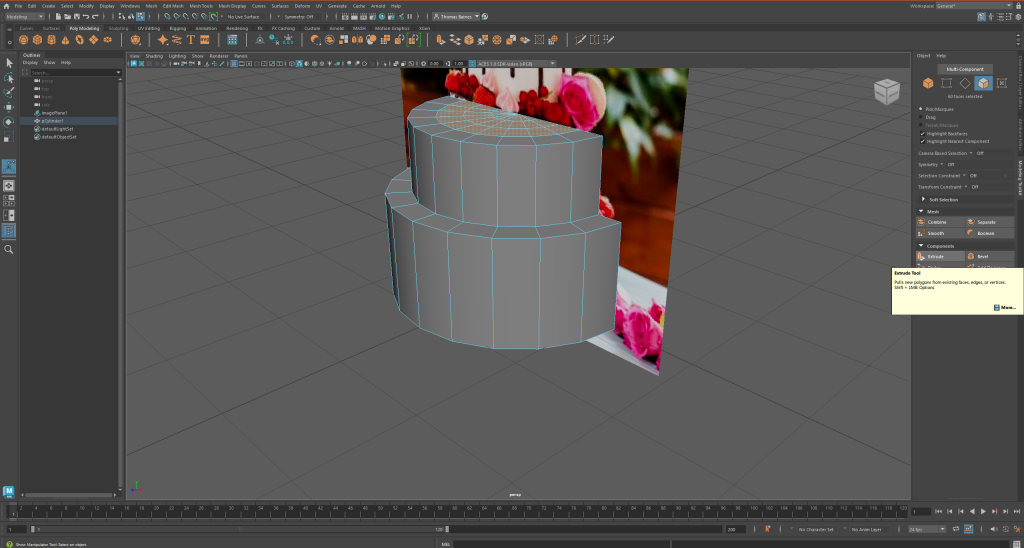
Then I selected some vertices to create a rounder surface to the cake.
Then, using the soft select tool I highlighted a large area in which would be affected by the vertices movements, this is how i began to model the “smashed look to the cake”.

By lowering the indent created using the vertices as well as creating some extrusions and pushing them inward to create a nice natural dip.
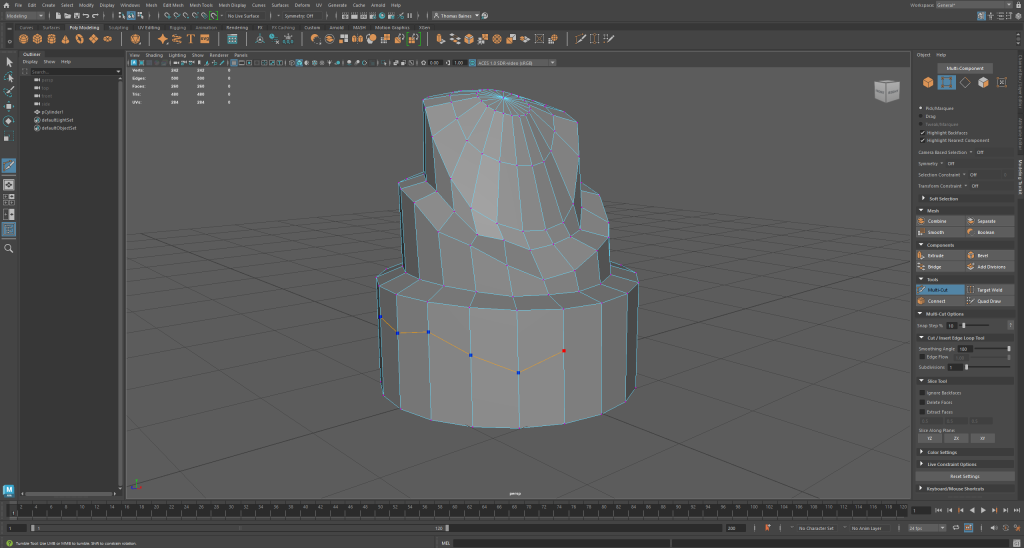
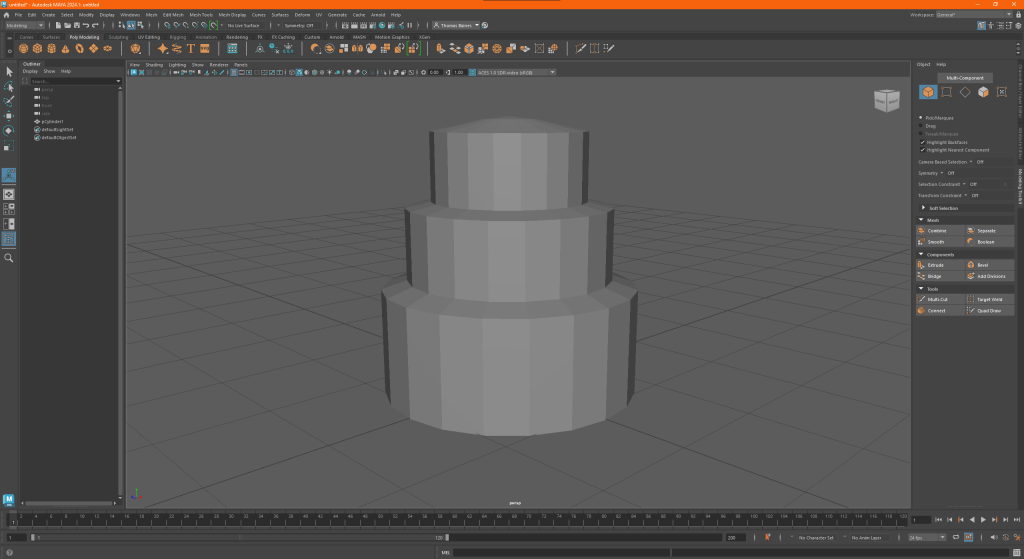
Following this, I began to create the frosting along the rim of each tier. Using the multi cut tool. I marked out the basic outline I intended to follow, and using the extruder tool, I then dragged out the “icing layer” creating the nice effect. I did this for each following layer to ensure consistency across my asset.
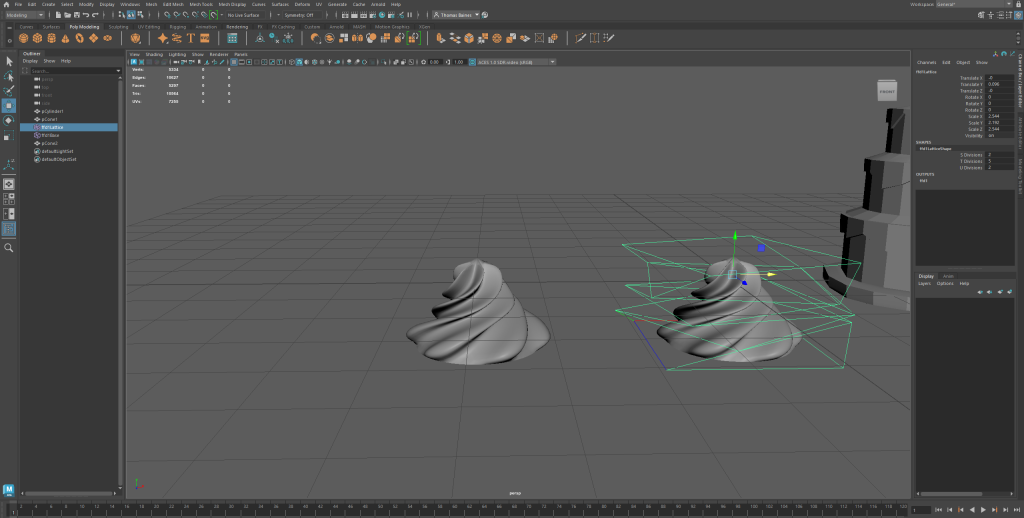
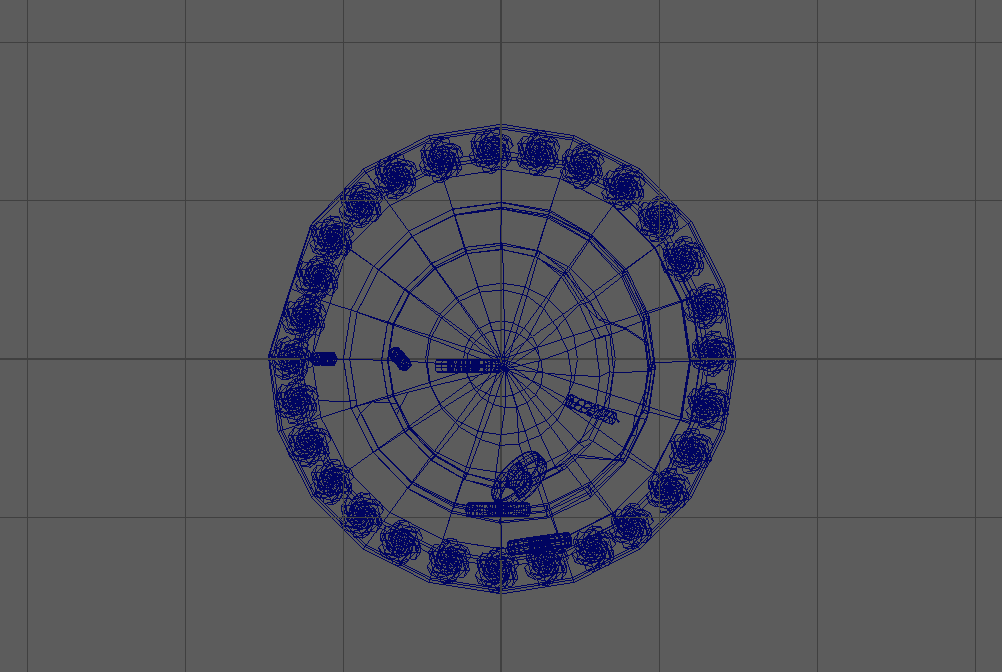
Following this i began work on my additional assets that were to be used for decoration on the main cake. I began by taking a simple cone and changing its subdivisions to a 12×6 format, following this i then extruded the faces along the sides of the cone to create what looked like a dollop of cream.
I wasn’t satisfied with this however, I wanted it to be swirled as how you would typically see them presented on cake, therefore iu searched for ways to do this. I found the lattice tool under the deform menu and by selecting my swirl and the vertices I was able to deform the object by transforming the lattice, using the rotate tool.
I would proceed to Ctrl + D this model and discard the original to be used later.
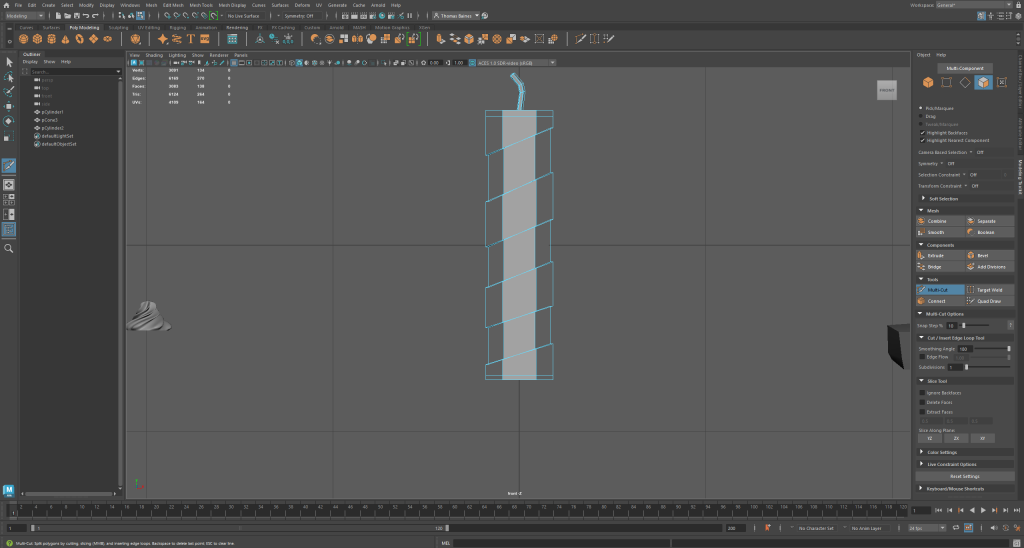
I then employed a similar technique to create the candles. Once again using the extrude and multi-cut tools to create the ridges and wick of the candle. I used the lattice deform to give them their signature spiral as you typically see on birthday candles.
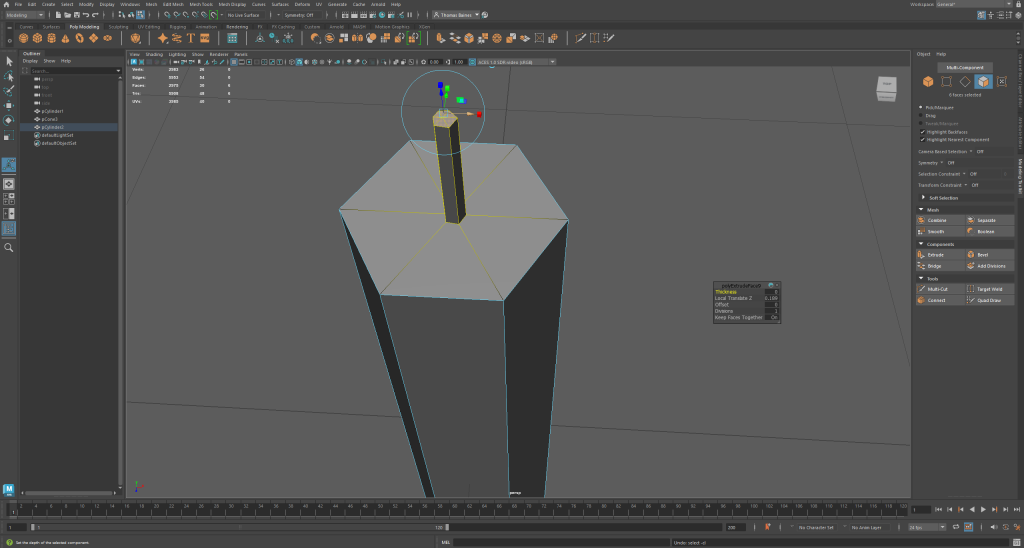
Following this I then used the text tool to create the numbers that would appear along the cake, this was simple enough however i did have some problems with bevelling and its depth, however i soon restarted and overcame that hiccup.
I decided to use the multi-cut tool once again to create a base for the cream dollops and also so the model would look more natural when bevelled. extruding it out I created a short platform to place the decorations and started to add them in place, using the transform functions in the attribute editor to arrange them accurately.
Somewhere during this time I also made an error and lost part of the base of my cake, therefore I had to edit my mistake using the bridge tool between the gap.
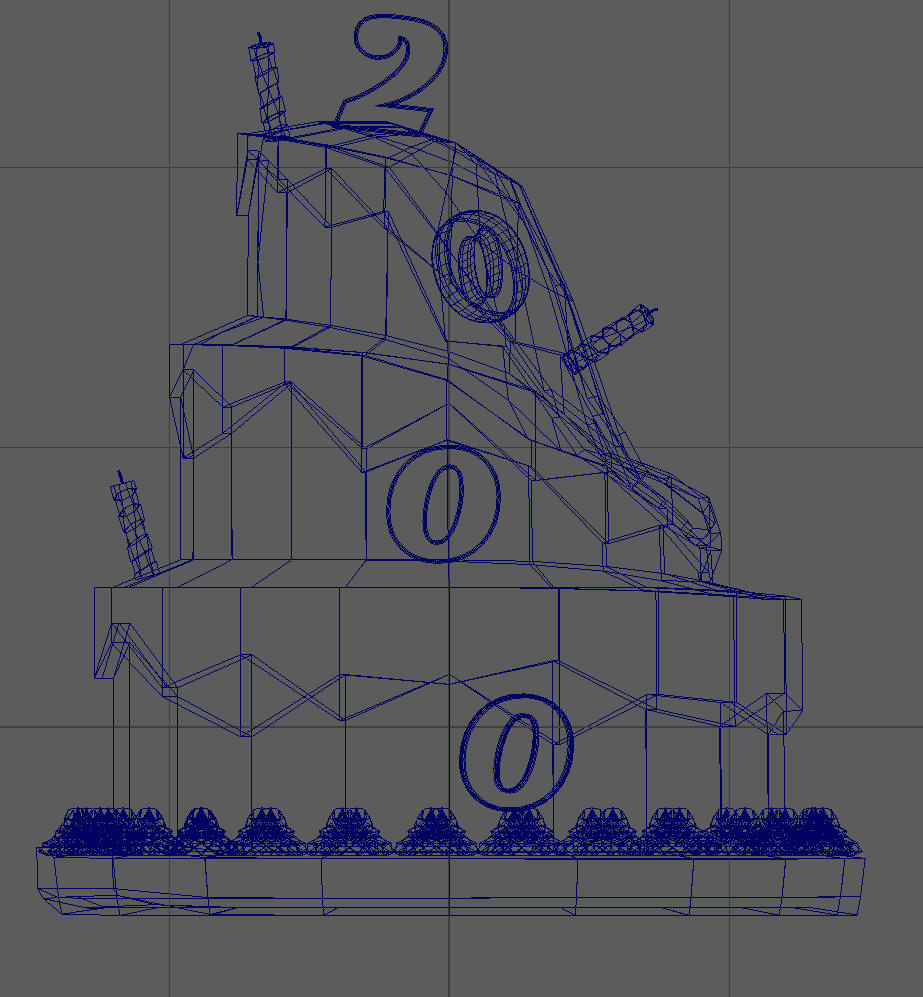
Following this I began to add bevels and subdivisions to my model, particularly around the icing to make it look smoother and more natural for my highpoly model.
Texturing
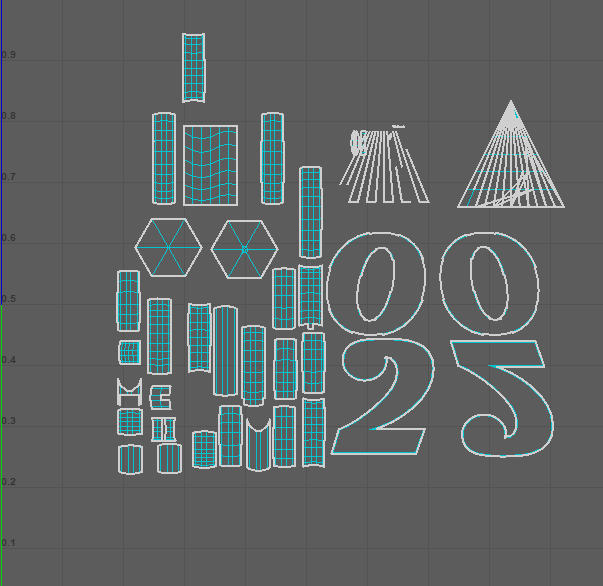
With my high and low poly models finished it was time to move over into substance painter, however I first had two things to complete before they were ready to be textured. First I had to alter the UV maps of each part of my model, this took some time as I’m not familiar with doing so, however i believe this came out well in the end
Following this i then had to bake my high and low poly models together to create a lowpoly yet smooth and detailed model, i placed both models into substance and let it bake.
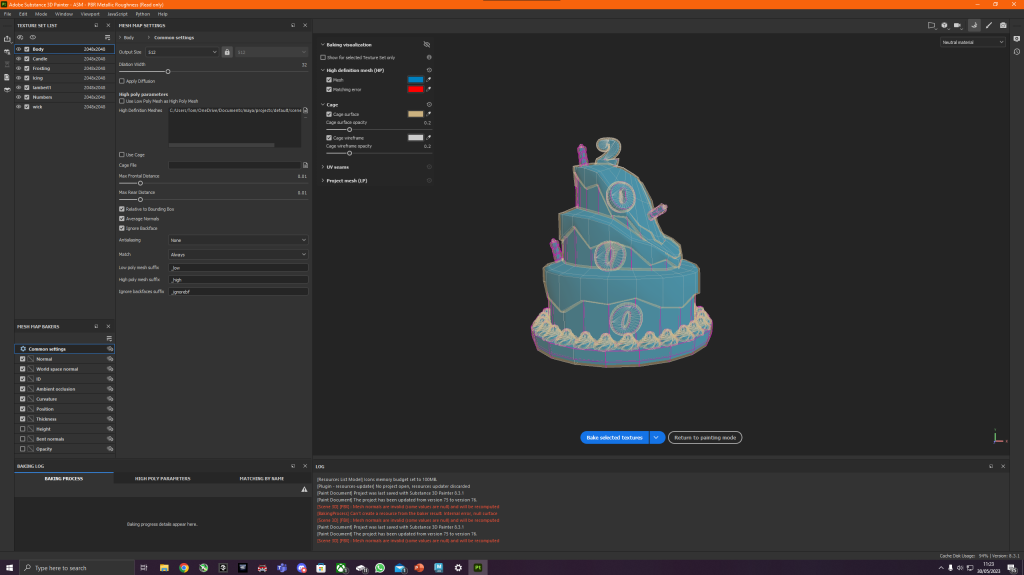
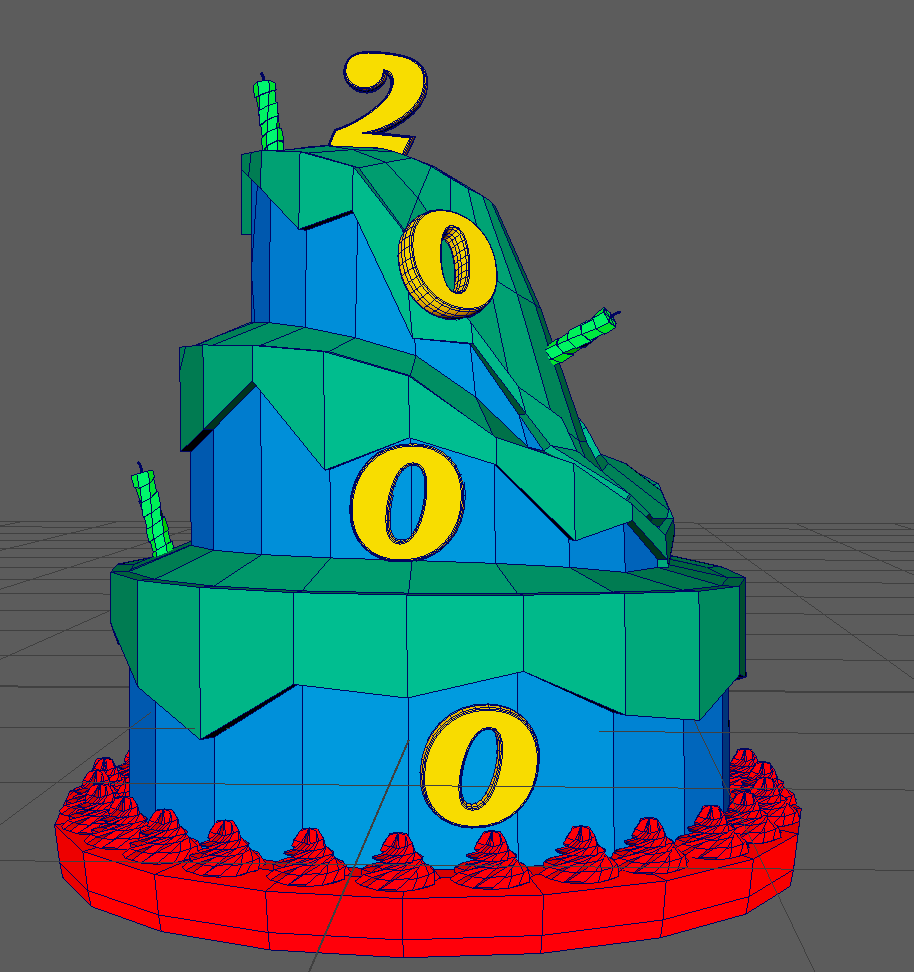
However following this i then had to retreat back to Maya to texture the different parts of my UV to coincide with each different texture to be used, this was made using simple lambert colours so it colour be viewed as a different part of the model in substance painter.
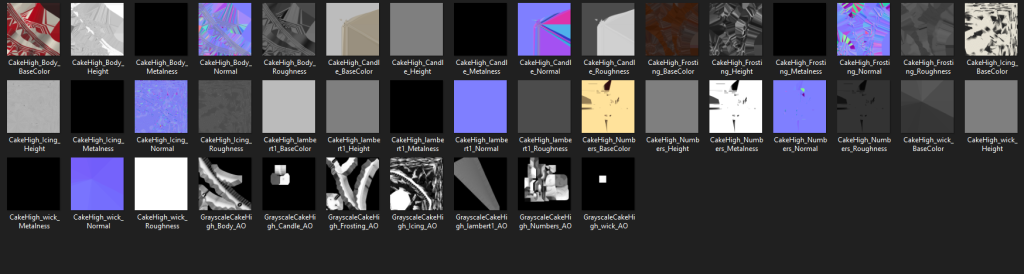
I began gathering textures for my model through the substance painter market place as well as using ones built into the program. I experimented with some of the masks available to grime up my model so it seemed mouldy and dirty.
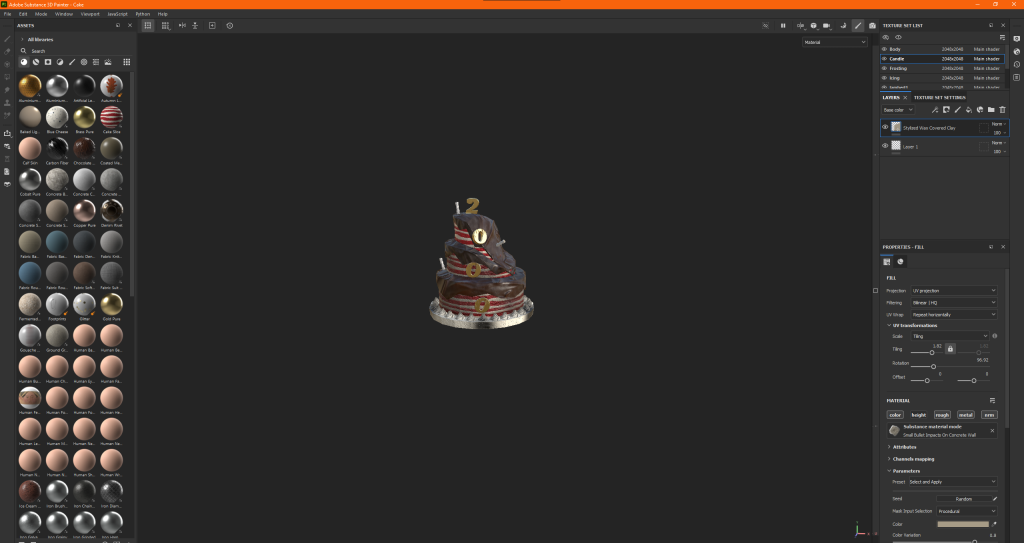
I used the normal brush and eraser tools for the finer details such as the candle wick and placed the textures according to my maps on some designated sections like the main body of the cake.
Finishing touches
With the texturing and modelling done, all there was left to do was re applying the textures in Maya and rendering in Arnold, However this is where I ran into a key problem my textures wouldnt load, either importing them directly or using the substance painter plug in which left my model looking like this:

Furthermore due to the issue, the model would appear purely blacked out when rendered as if there was no specular map, I checked within hyper shade window yet couldn’t come with a solution, so unfortunately my model count render whatsoever.
Reflection and conclusion
This posed as a serious challenge for me as I simply couldn’t get my textures to work using Arnold renderer whatsoever, however my peers and i assessed my model was of good quality if not a bit high on the poly count. Truth be told I’m really disappointed with this as i tired hard with the model.
References
(1) Y2K BUG:https://www.britannica.com/technology/Y2K-bug